
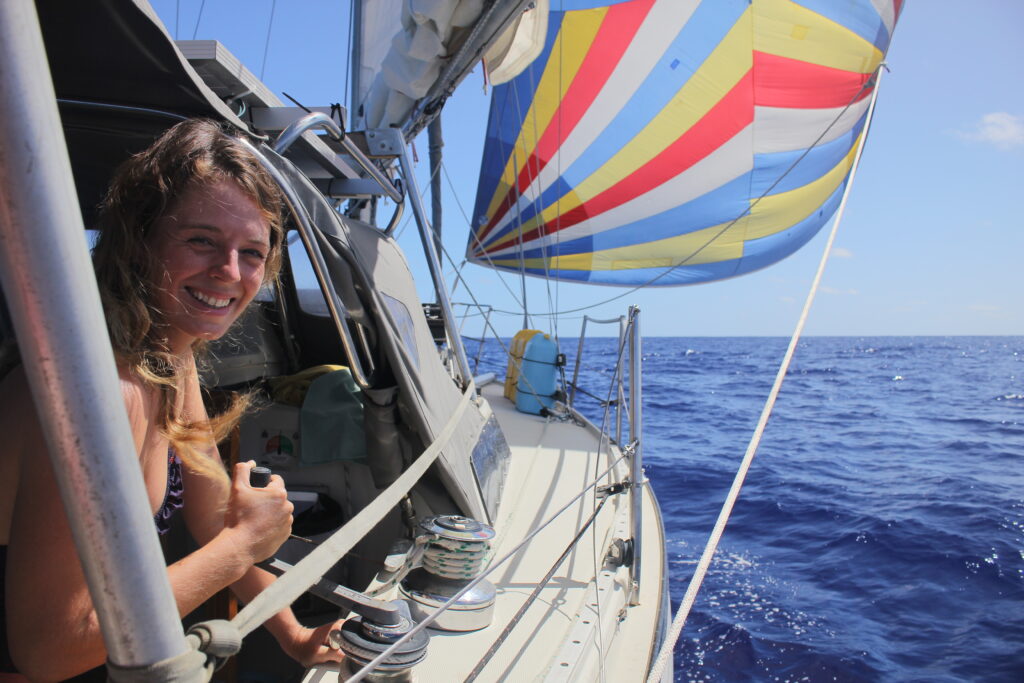
Some of my happiest sailing memories involve downwind sailing: coasting along with the spinnaker up, blissfully basking in the afternoon sun. I’ve also had some uncomfortable downwind rides, like sailing along the Washington-Oregon Coast with a cross swell and gusts of 40 knots.

Sailing downwind can vary a lot, depending on the conditions, but having the right sail configuration and trim is key and can make all the difference to your comfort and safety.
Robin and I spent the better part of three years sailing (mostly downwind), but it wasn’t until we made a 26-day Pacific crossing to the Marquesas that we really refined our techniques—with none of modern life’s distractions we had a lot of time to think about it!
Below I’ll share the three downwind sailing configurations we used but first let’s quickly talk about the risks of downwind sailing (and how to minimize them).
What is downwind sailing?
Sailing downwind is sailing with the wind behind you. This includes broad reaching and running points of sail.

Risks of downwind sailing
Accidental Jibes
“Dead down, heads up” is an old piece of sailboat racing advice. When sailing downwind (especially dead downwind) you should be constantly aware of the potential for an accidental jibe—nobody wants to catch a boom in the face!
Accidental jibes happen fast, can cause severe injuries, and can even send you overboard. The substantial force also puts stress on the boat’s hardware, lines, and the boom itself and can result in broken equipment.
You can reduce the chance of an accidental jibe by not sailing on a dead run. Give yourself a margin for error, staying 5 to 10 degrees off dead downwind, in case the wind changes.
There are also a couple of systems that can reduce the risks associated with uncontrolled jibes.

Preventers and boom brakes
Preventers work by “preventing” the boom from swinging at break-neck speeds across the boat’s centerline.
Preventers range from simple to complex and can get pretty expensive. However, you can rig a DIY boom preventer for next to nothing.
The simplest preventer setup is a line that runs from the end of the boom to a point on deck forward of the mast.
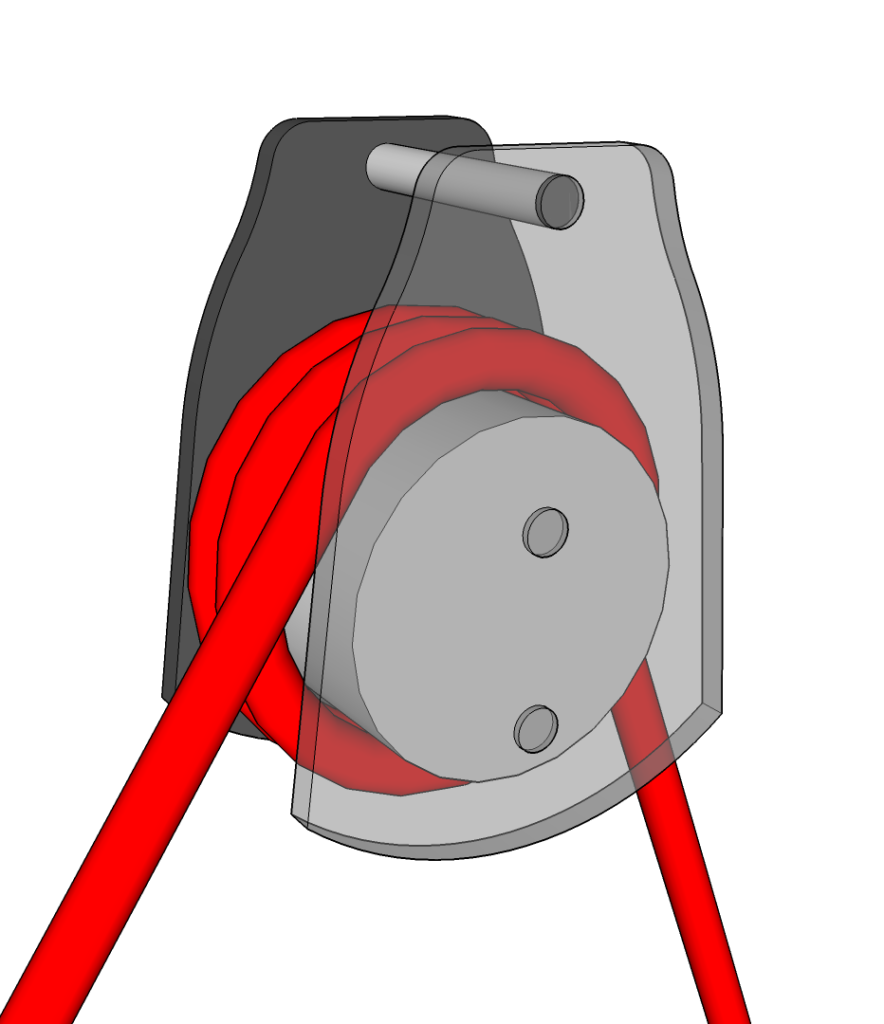
A boom brake is a more elegant solution that slows the boom as it crosses the centerline of the boat during a jibe. The big advantage over a preventer is that the boom isn’t held in a back-winded position if you accidentally jibe.
We were able to buy a second-hand Dutchman Boom Brake and we used it whenever the main was up. They’re expensive but a good investment if you’re planning on doing a lot of downwind sailing.


Broaching
A broach is when a gust or a wave causes the boat to heel and twist violently into wind such that it can’t be counteracted by steering. In extreme cases, this may cause the boat to capsize.
There are a few strategies for avoiding a broach including not having too much sail area and carefully steering the boat to prevent rolling.
Downwind sailing setups and sail configurations
Over three years of bluewater sailing (almost all of it downwind) these were the configurations that worked best for us. Try these out on a calm day and keep tweaking until you find a balanced system that works for your boat and crew members.
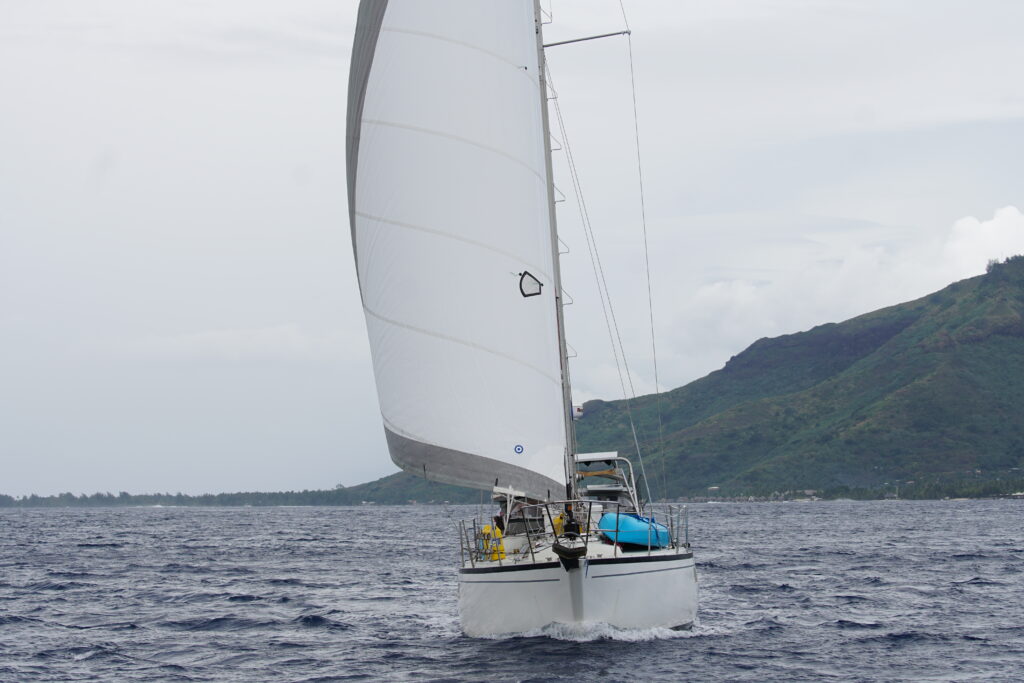
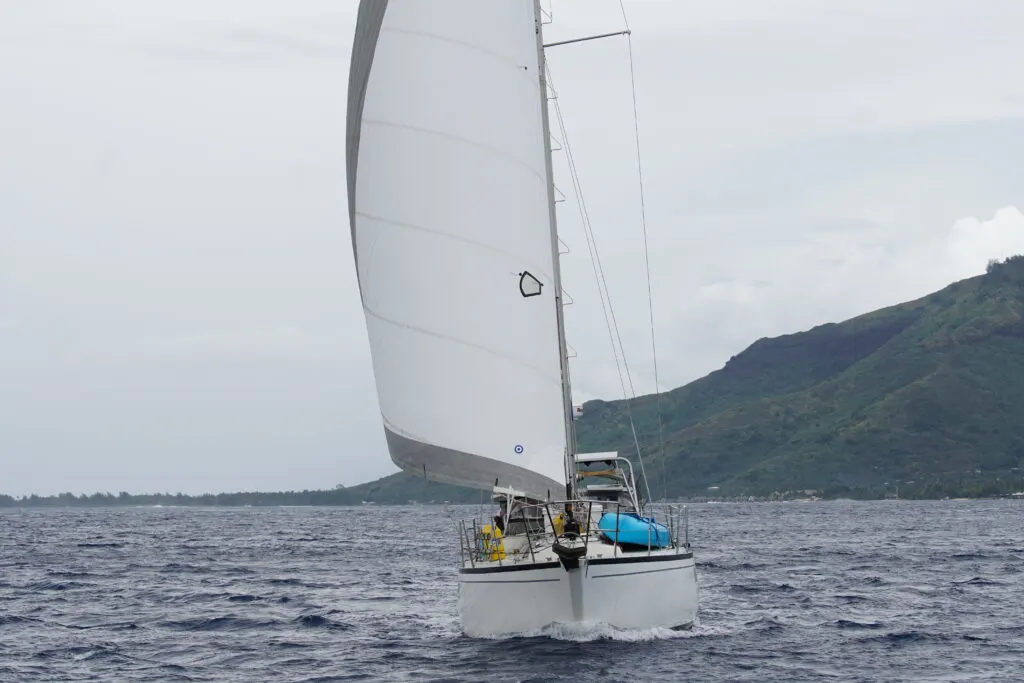
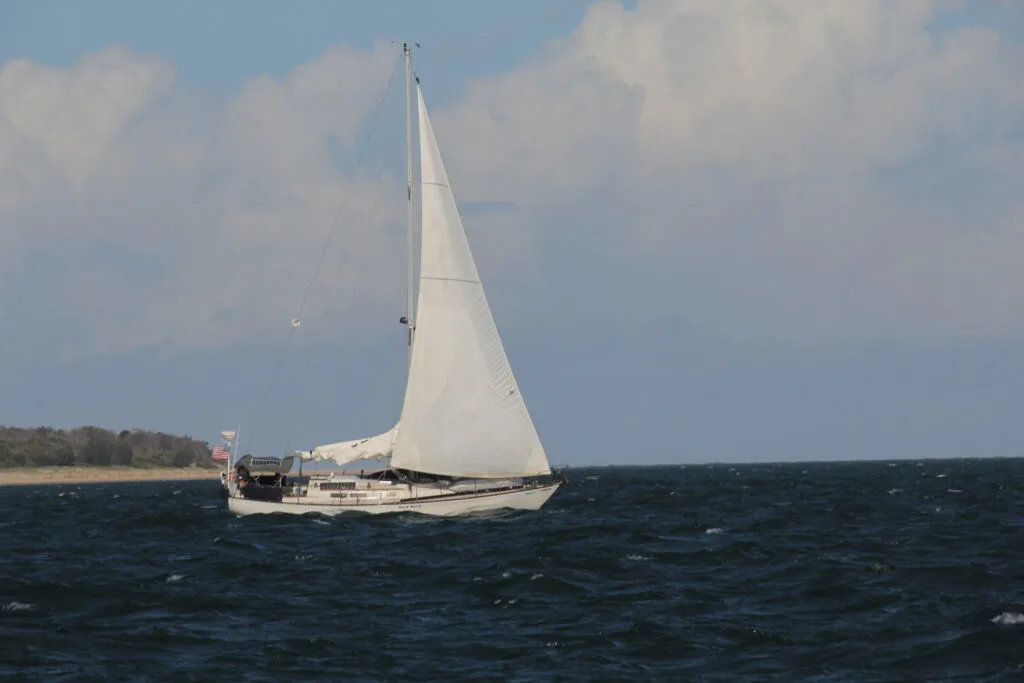
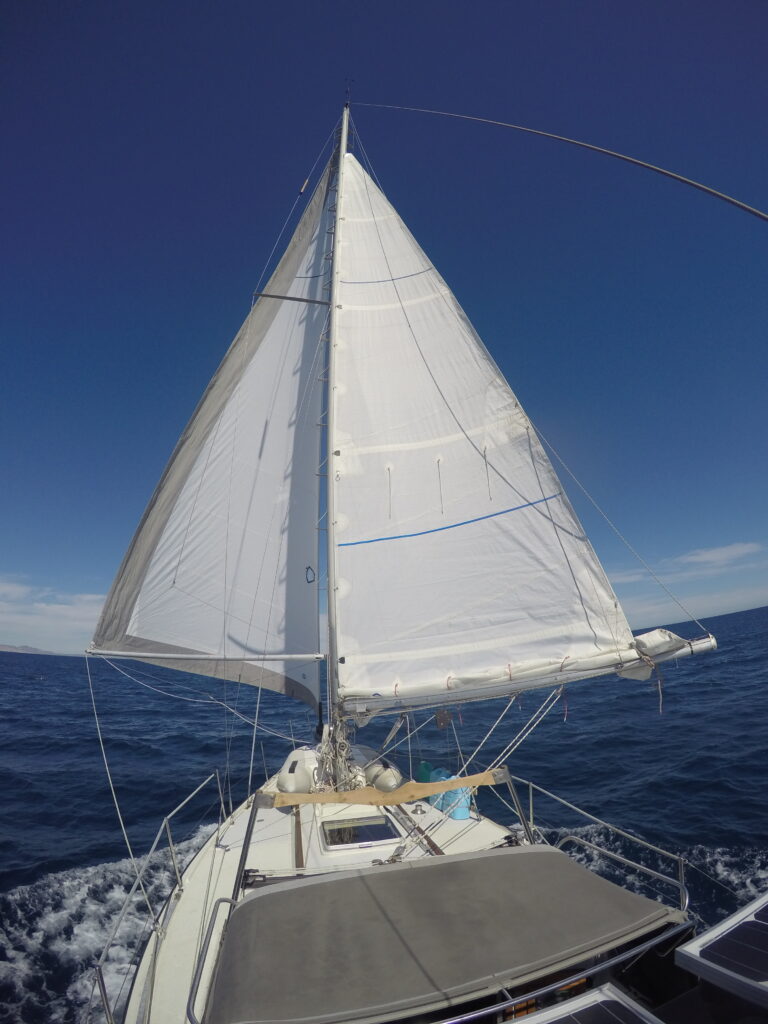
1. Sailing downwind on a headsail only
We’ll start with what is by far the simplest technique: sailing under a genoa or jib alone. Though it’s relatively uncommon to see a boat under headsail alone in your local harbor, we and many other bluewater sailors use this configuration with great success. Some even opt for twin headsails!
The benefits are that it moves your centre of effort forward and reduces weather helm, which can be a real advantage in strong winds. You also don’t have to deal with the mainsail’s wind shadow and it’s very simple to reef single-handed if you have a roller furler.
The drawbacks are a potential loss of speed, though really the genoa is your main engine when sailing downwind. Also, we typically used this configuration in heavy air when we were more concerned with boat stability than speed.
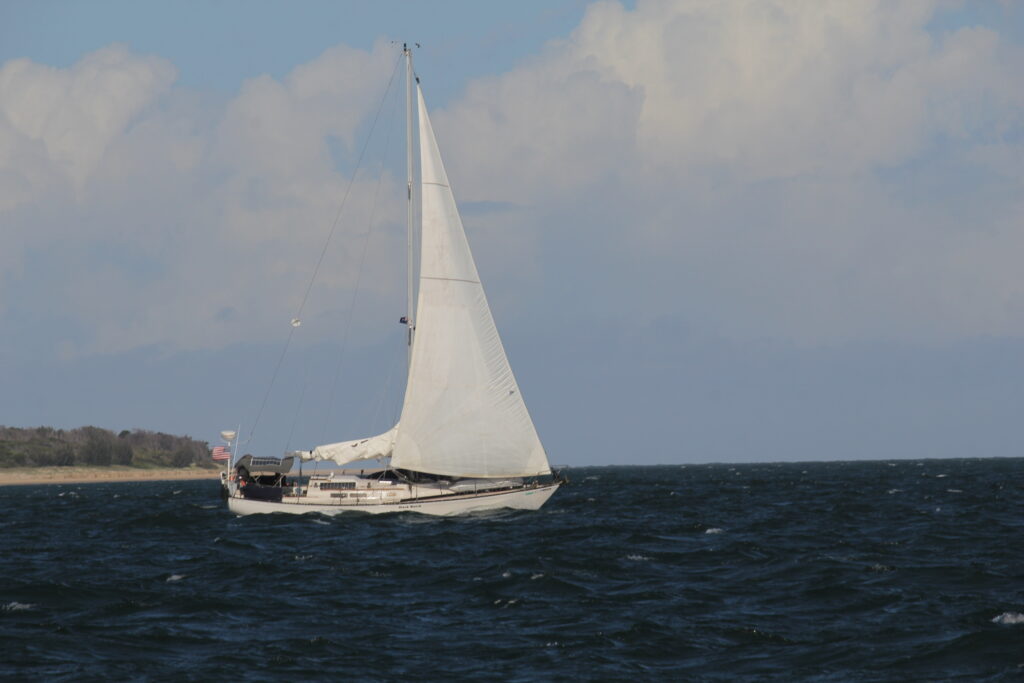
We used this technique for much of our sail down the Washington, Oregon, and California coastlines.
It was also a great technique for night sailing when we prioritized sleep over speed, and whoever was on watch could easily reef the genoa alone.
How to sail under headsail alone:
- Bear off to your desired point of sail.
- Unfurl your headsail (reefing as necessary).
- Trim your sail.
Pros:
- Reduces weather helm which can be helpful with higher wind speed
- No blanketing from the mainsail
- Easy to set up and reef single-handed
Cons:
- Potentially slower boat speed
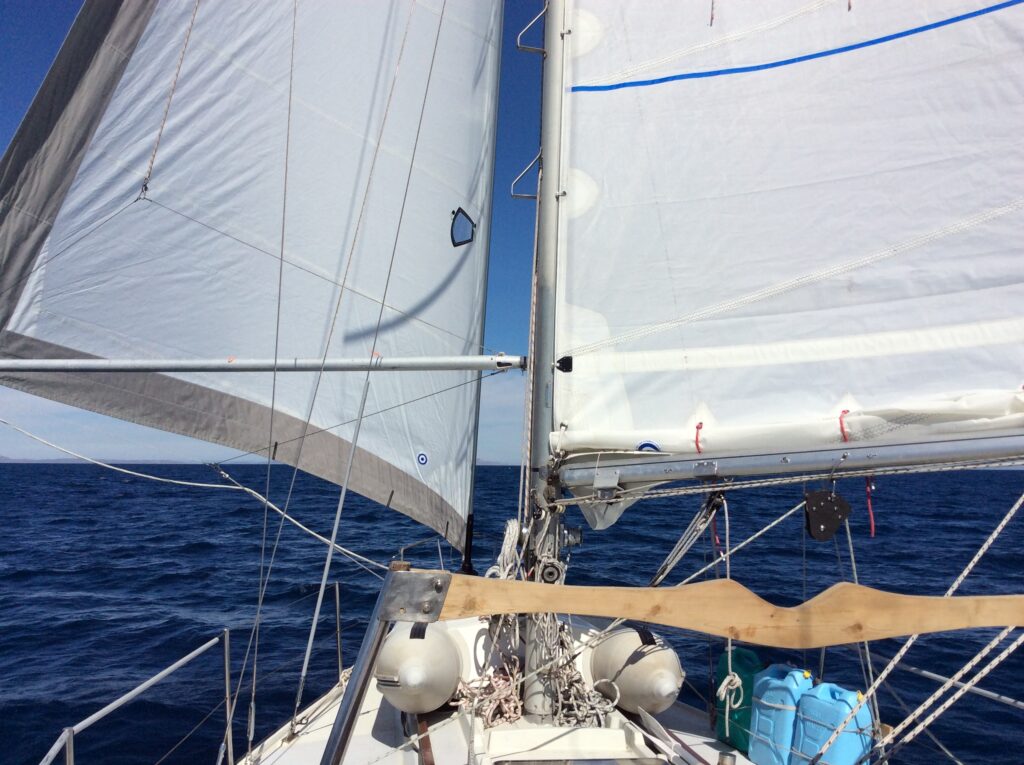
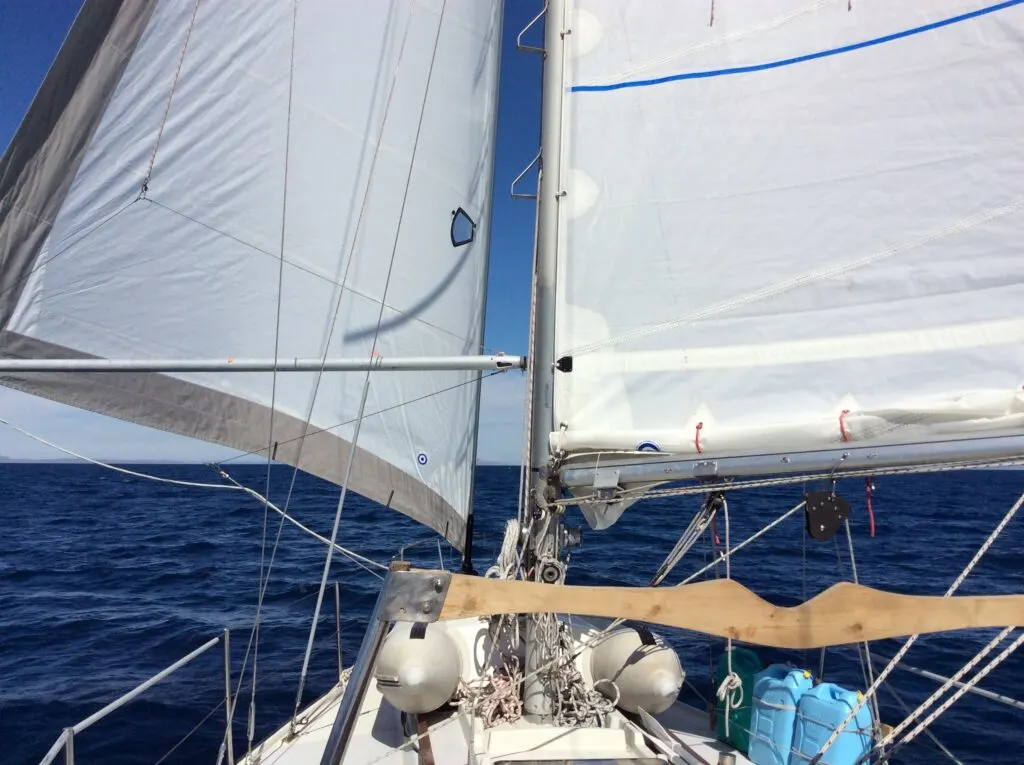
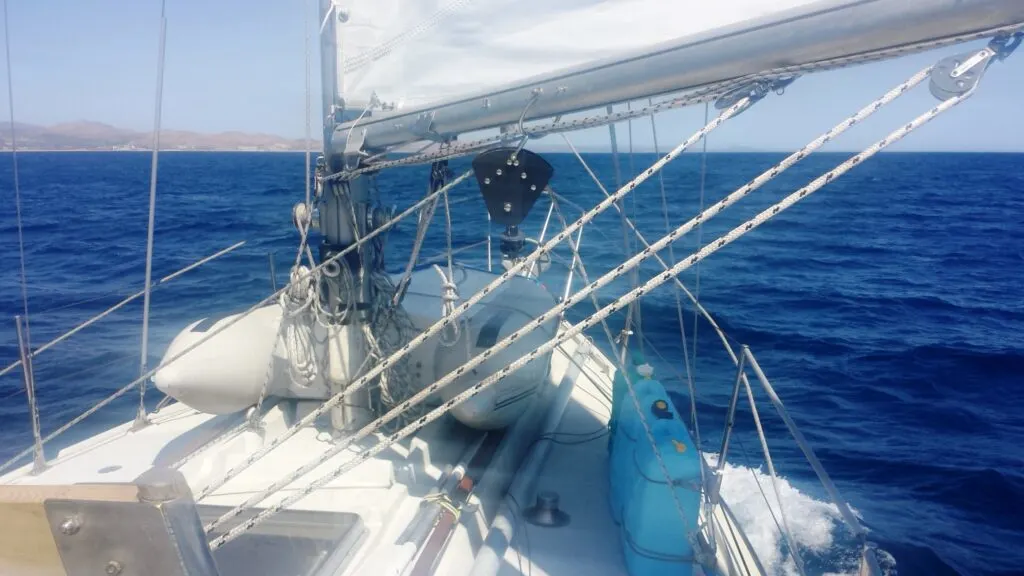
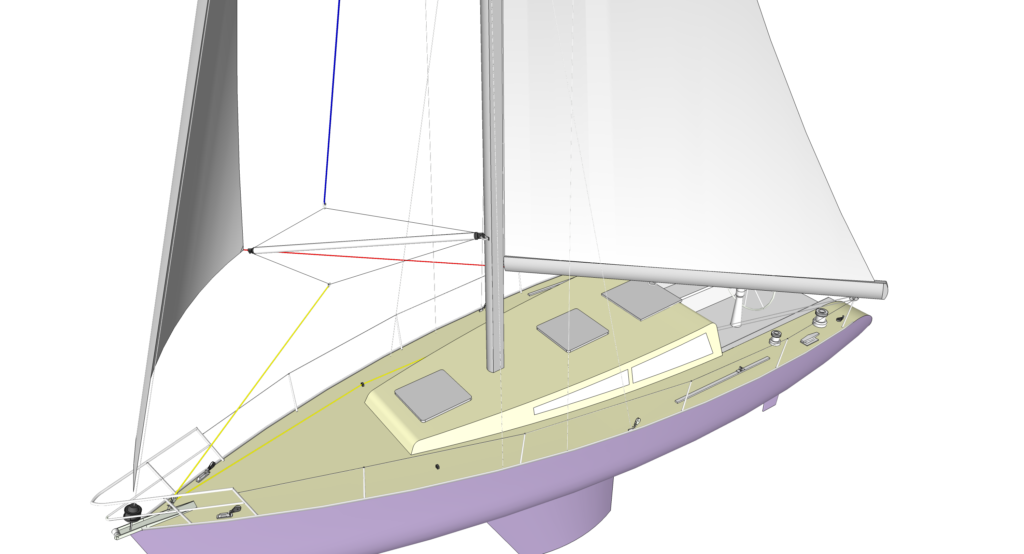
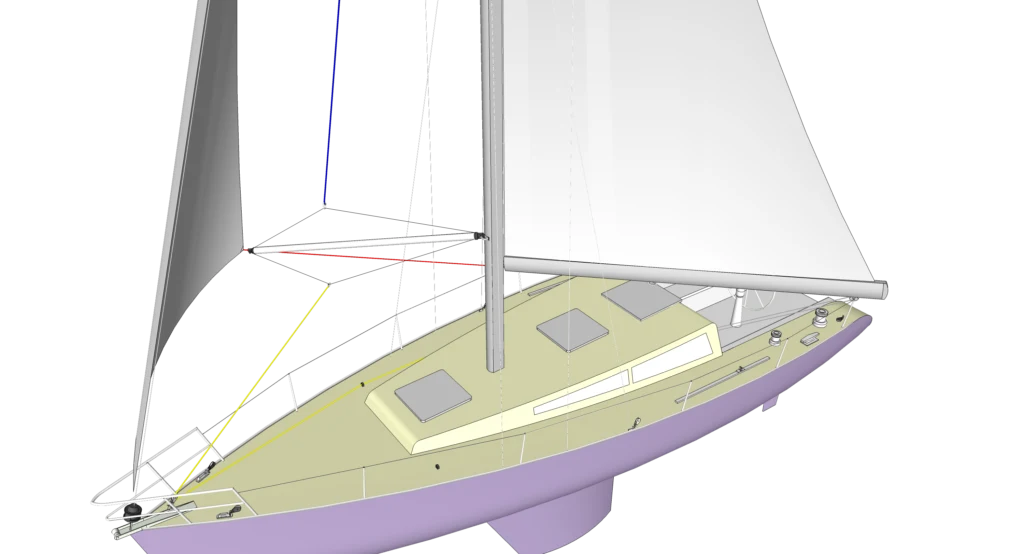
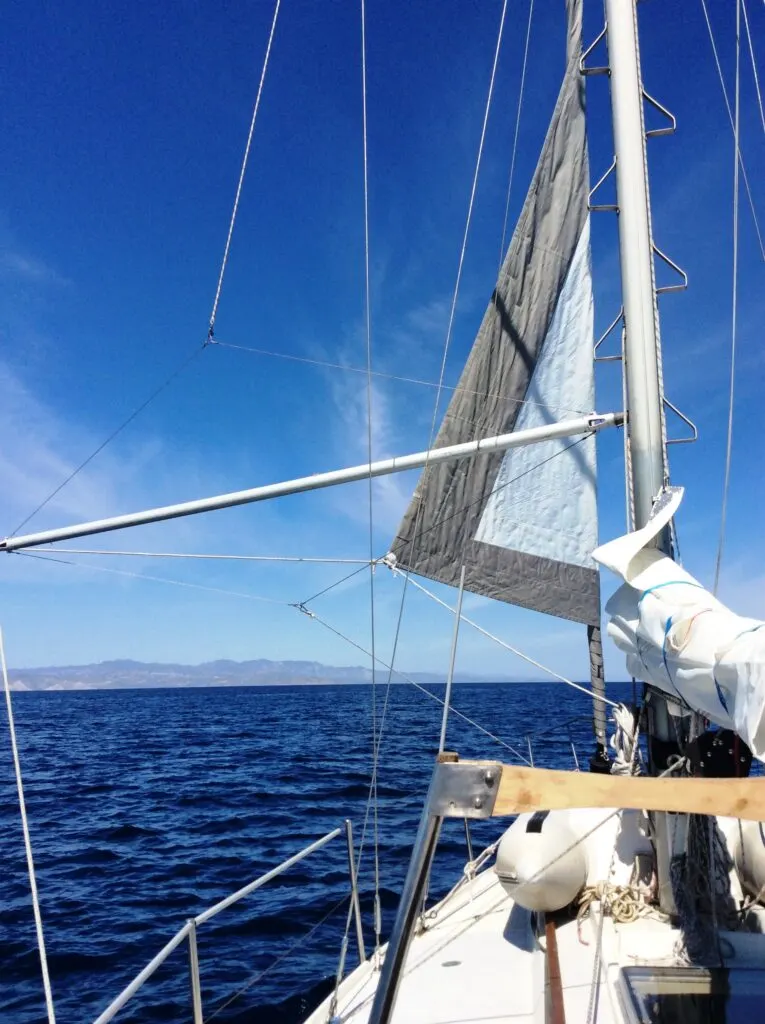
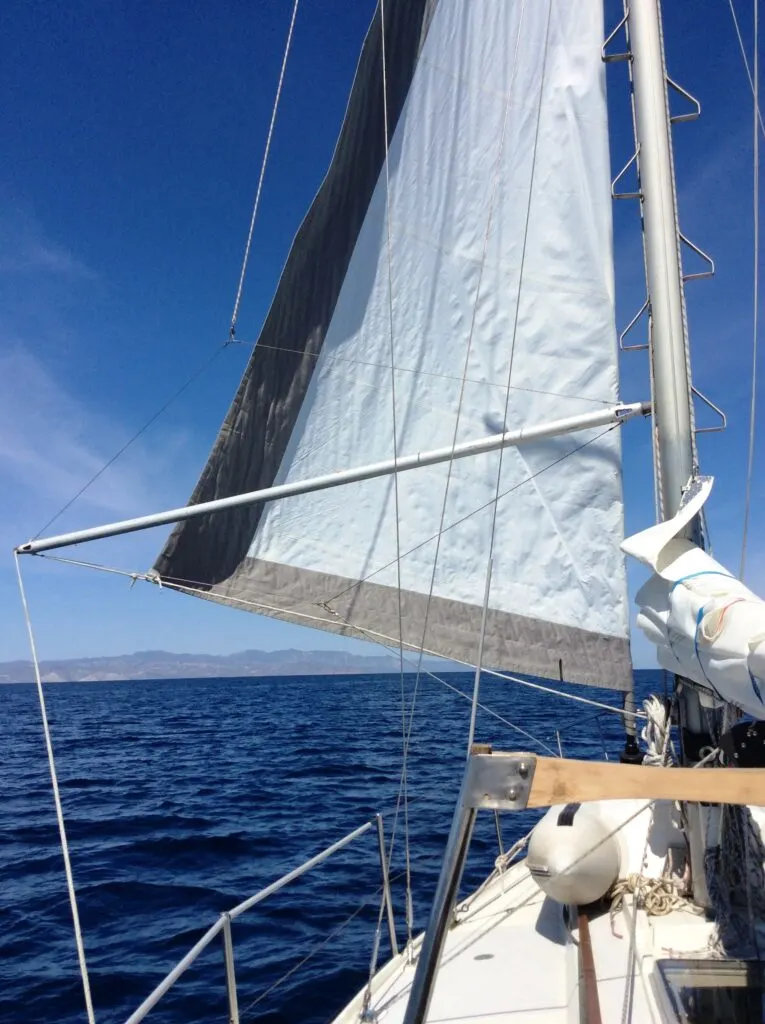
2. Sailing downwind with a mainsail and poled-out headsail
The further you bear off, the more you’ll find it difficult to keep the genoa filled. Eventually, you’ll reach a point where the main entirely blankets the headsail (around 140-220 degrees).
When running dead or near-dead downwind, we’d bring the genoa over to the windward side and go wing on wing. However, ocean swell and wind waves can play havoc with the headsail, especially in lighter winds, causing it to collapse and fill repeatedly, making a disturbing “whump” sound and shaking the mast.
In this scenario, we pole out our genoa. We only use this technique in open areas where we can hold a heading for an hour or more. If you need to jibe every 10 or 15 minutes (or less), most short-handed crews are going to find it’s not worth setting up a pole.

Spinnaker pole vs. a whisker pole
To do this you’ll need a spinnaker or whisker pole that is strong enough to handle the loads of a backwinded sail—check with a reputable source to choose the right whisker pole for your boat. Often, spinnaker poles run a bit short for a 120 to 150 percent genoa in which case a telescopic whisker pole can extend the full sail.
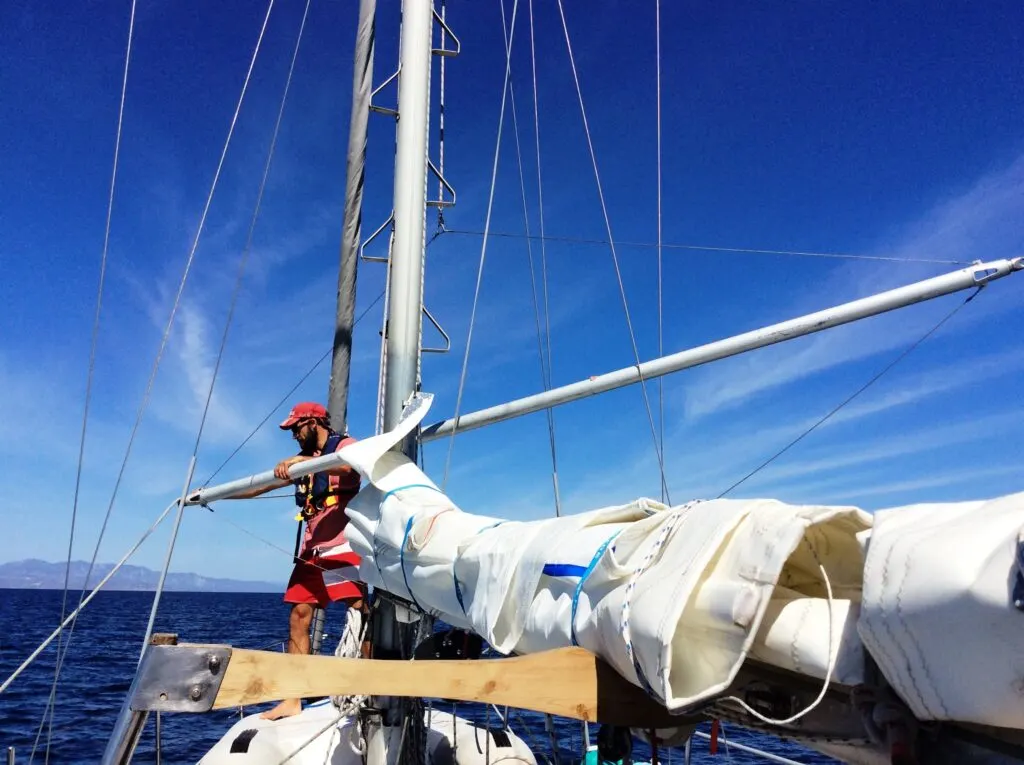
How to pole out a headsail
If you have any experience with poling out a spinnaker, you’ll find that it’s similar with a genoa.
- Start with a fully furled headsail.
- Attach the topping lift to the pole while it’s still on the deck.
- Raise the pole. A crewmate can take up slack as the pole is lifted so that the person on foredeck isn’t taking all the weight of the pole.
- Connect the foreguy, leaving a few feet of slack so that pole can move.
- Connect the outboard end of the pole to the jib sheet.
- Connect the inboard end of the pole to the mast.
- Level the pole (using the topping lift, foreguy, and mast track) with the clew of the sail.
- Adjust your pole to fit the sail. If you’re using a whisker pole, you can extend or shorten the pole. For a spinnaker pole, move the inboard end up and down the mast track to shorten it. Or, keep the pole level to push the sail out to its maximum.
- Tighten up the the foreguy so that the pole can’t make contact with the shrouds when the sail is unfurled.
- Unfurl and trim the headsail.


Pros:
- Prevents the headsail from continuously collapsing and refilling
Cons:
- Necessary to carry a whisker or spinnaker pole on deck along with additional lines and rigging
- Takes more time to jibe (not a good idea if you need to maneuver in tight areas)
How to jibe with a poled-out headsail
- Furl the headsail. We don’t recommend gybing with the headsail up. A lot can go wrong with a heavy pole swinging around and several lines on deck.
- Unclip the pole from the genoa sheet
- Rotate the outboard end of the pole to the other side of the boat. If you’re using a spinnaker pole, you’ll likely have to unclip the inboard end as well to bring the pole through before clipping in on the new side.
- Clip to the opposite genoa sheet
- Unfurl the headsail and trim.
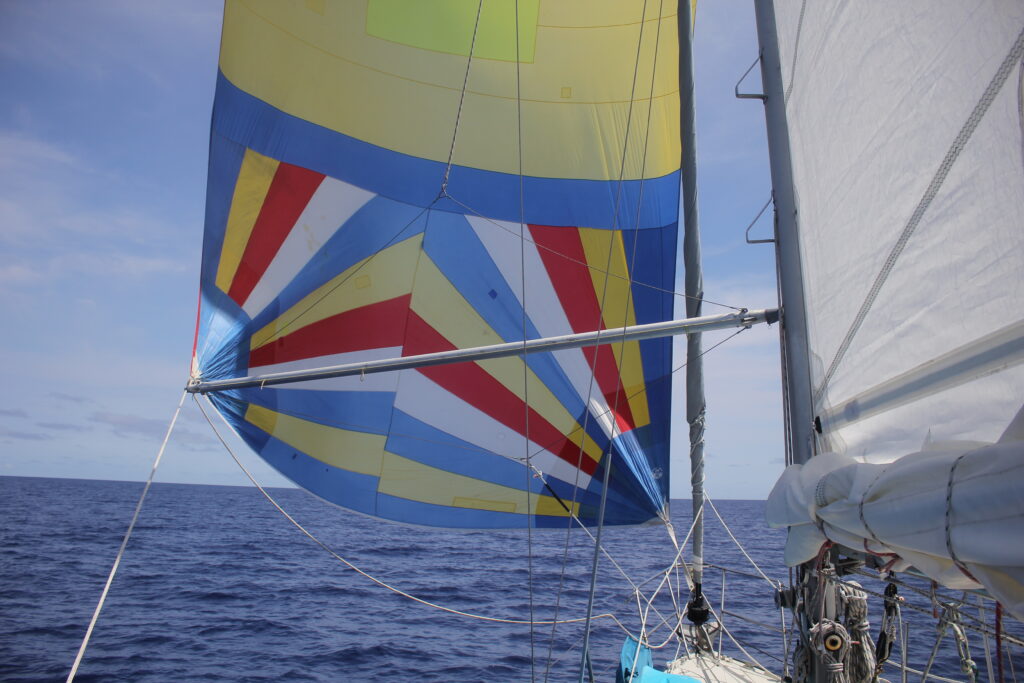
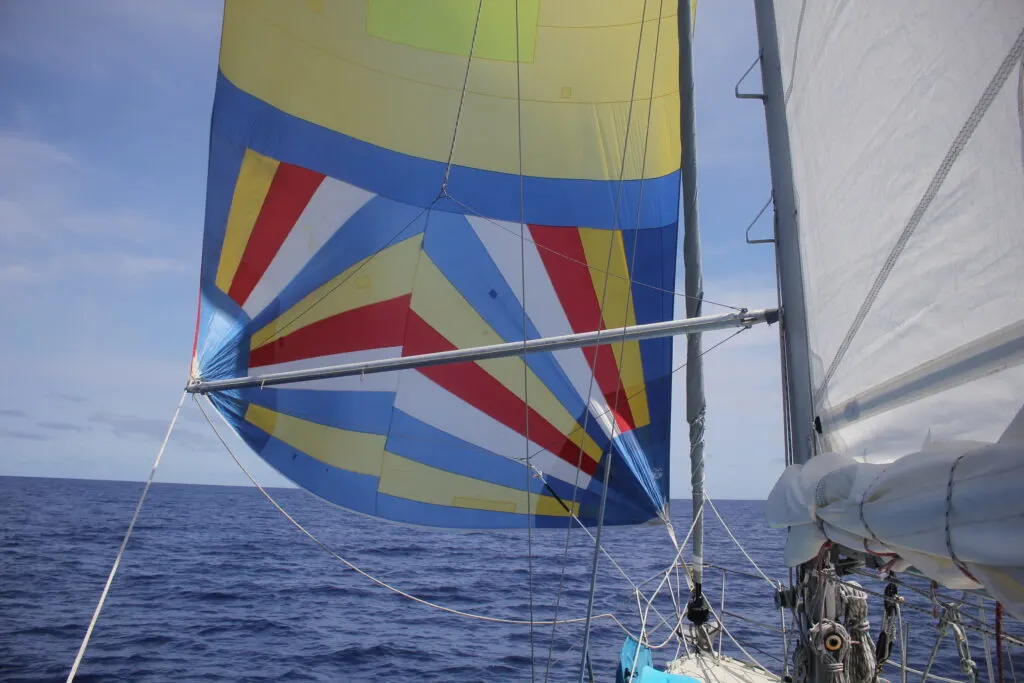
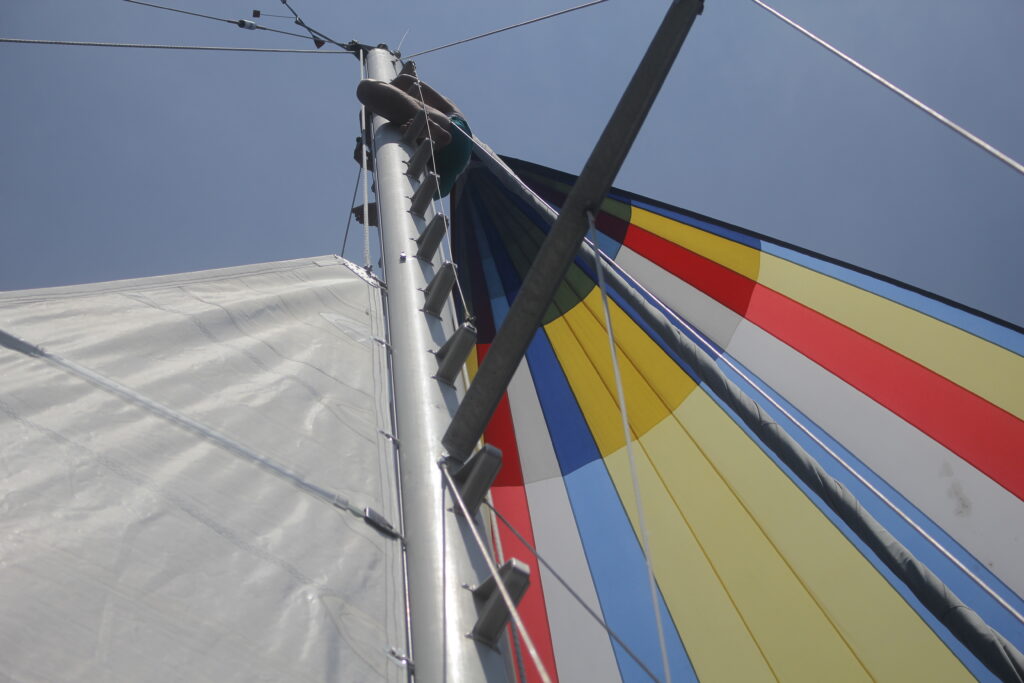
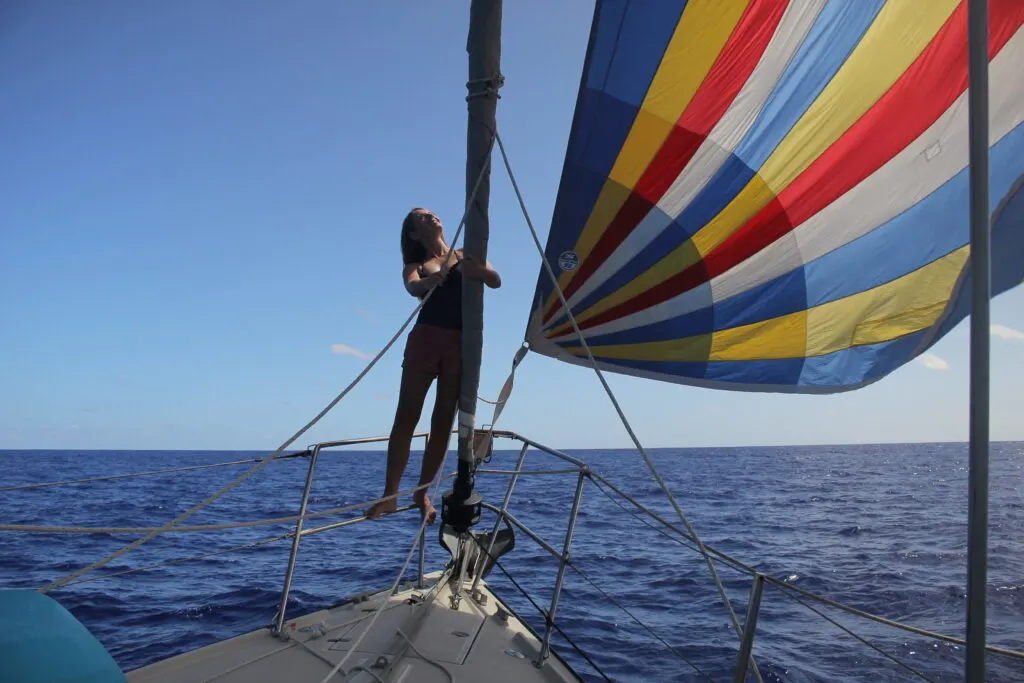
3. Downwind sailing with a spinnaker
My happiest days of ocean sailing were when we had light winds, no swell, and could coast all day long on our asymmetric spinnaker. It took us a while to build up the confidence to use ours but it eventually became second nature.
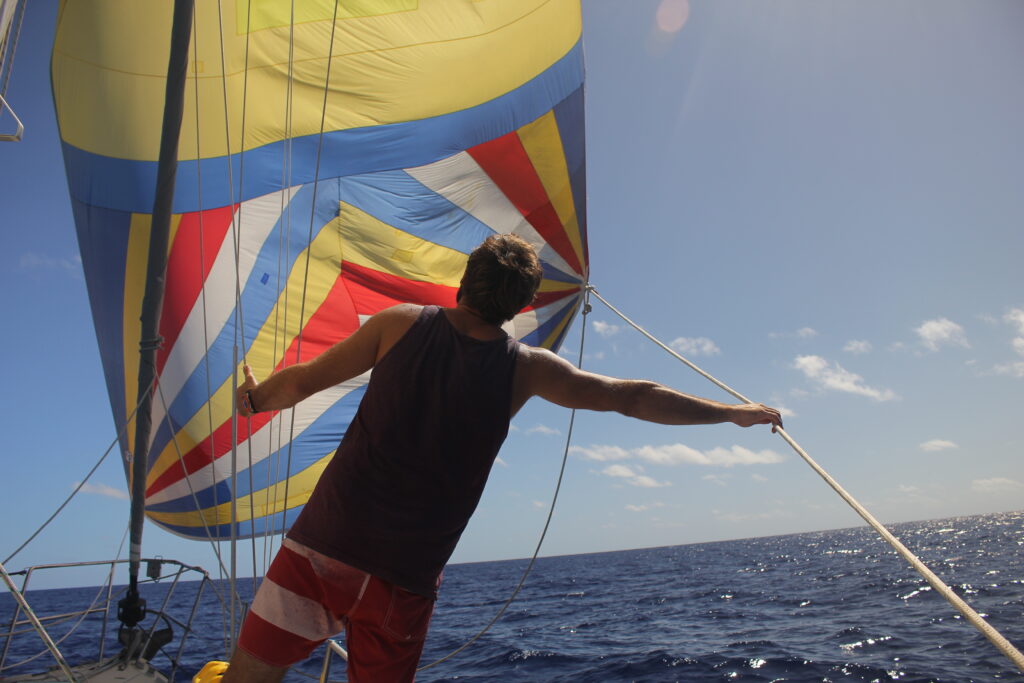
That being said spinnakers are more challenging to use than a furling headsail. They require constant attention to steering and trimming—It’s certainly NOT a case of “set it and forget it”.
It’s also important to have good communication amongst the crew. Discuss your plan (and who’s doing what) for launching, gybing, and dousing before you start.
Spinnakers vs. gennakers
A gennaker (a.k.a asymmetrical spinnaker or cruising chute) is larger than a genoa but smaller than a symmetric spinnaker, and performance-wise you can think of it as a blend between the two.
It does best between 80 and 120 degrees off the apparent wind, from just forward of the beam to a broad reach.
Most bluewater cruisers carry asymmetrical spinnakers because they can be pointed higher and are less work for short-handed crews.
At higher points of sail (e.g., a beam reach) the tack is attached to the foredeck and the gennaker is trimmed like a genoa.
On a run, we would pole our gennaker out to windward like a genoa, but it’s also possible to fly a gennaker like a spinnaker (tack to pole, clew to sheet).
How to rig a gennaker
- Secure the sail bag on the foredeck.
- Attach the tack to the stem head (the most forward point on the boat) with a 2-foot line. You may need a slightly different length depending on the size of your sail and rigging. Another option is to run a tack line from the tack to a block at the forestay fitting and back so that you can adjust the height of the tack above the deck (anywhere from 2 to 6 feet).
- Attach the spinnaker halyard to the head of the sail.
- Attach sheets to the clew, leading the lazy sheet in front of the headstay. Run both sheets back to winches and cleats.
- Head onto a broad reach.
- Hoist the sail quickly while keeping the sheet eased.
- Bring in the spinnaker sheet until the gennaker fills. You may need to head up slightly.
- Trim the sail as needed.

How to jibe the gennaker
When setting up, be sure to lead the windward sheet around the forestay in front of the sail and keep the lazy sheet (whichever one is not being used) out of the water.
- Slowly bear off and ease the sheet, using the wind pressure to get the sail out in front of the boat.
- As the boat passes through dead downwind, release the old sheet and use the new sheet to pull the sail in front of the forestay to the other side.
- Head up and bring in the sheet until the gennaker fills.
How to take down the gennaker
Spinnaker sailing can be so much fun that it’s easy to keep the sail up longer than you should. This is what happened when I blew out our spinnaker on a crossing from New Caledonia to Australia.
Sadly the damage was well beyond anything I could patch up with my onboard sail repair kit. Pay close attention to the wind strength and always douse your spinnaker well before you need to.
We never used a snuffer to help tame our spinnaker but many cruisers swear by them.
Racers have devised a few ways to douse a spinnaker, but we found the following method was the best way for us as cruisers.
- Head onto a broad reach so that the mainsail blankets the gennaker.
- Ease the sheet until the gennaker collapses or has a big curl.
- Release the halyard in a quick but controlled way while simultaneously gathering the spinnaker, hand over hand, keeping it out of the water. I always preferred to do this in a seated position as it feels more stable.
- Stuff the spinnaker into a sail bag on deck.
- When the sail is completely down, release the tack from the bow of the boat

Pros:
- Best speed in light air
- Lots of fun to sail
Cons:
- Requires constant, active management (not great for short-handed crews)
- Slow and complex to launch, sail, and douse
- Not appropriate for sailing at night and in variable wind conditions
I hope you’ve enjoyed this post and that it helps you experience the joys of sailing downwind. “May the wind always be at your back.”
If you have any questions, drop us a line in the comment section.
Fiona McGlynn is an award-winning boating writer who created Waterborne as a place to learn about living aboard and traveling the world by sailboat. She has written for boating magazines including BoatUS, SAIL, Cruising World, and Good Old Boat. She’s also a contributing editor at Good Old Boat and BoatUS Magazine. In 2017, Fiona and her husband completed a 3-year, 13,000-mile voyage from Vancouver to Mexico to Australia on their 35-foot sailboat.