
Photo credit: taduuda
You’ve found a boat to buy that looks good on paper, but what horrors lurk beneath? Time to do a deep dive with a full marine survey.
Part of our “How to Buy a Boat” series
Conducting a marine survey can be a very fun task. It is our first opportunity to really get to know a boat. We always conduct a mini-survey and have some idea of what the boat is about, but it’s not until we get down to the nitty-gritty that we really see what’s going on.
We have developed a list of actions and things to look for in a full blown marine survey. Most of this doesn’t require any specialized knowledge, just a pair of latex gloves and keen eyes. Our marine survey does not replace, nor should it, a professional marine survey. If we are happy with the result of our survey, we’ll make an offer on the boat and make a term of the offer our approval of a professional marine survey. But due to the cost of a professional survey, which is usually north of $500, we reserve this service for when we are really serious about buying the boat, which is why our own survey is so important.
The following is a breakdown of items to check, how to check them and our experience. It may not be possible to go through everything in this list, but it is worth trying. We have found the full survey takes us anywhere from 2-4 hours. Sometimes we have to break this over a couple of trips depending on the owner’s schedule. We have found it works best if the owner isn’t breathing on our necks the whole time, but that can also present the opportunity to ask a lot of questions. We have been burned a couple of times by dishonest owners so we take their answers with a grain of salt and check everything no matter what they say.
We’ve included a FREE boat survey worksheet at the bottom of the post that you can download and take with you on your next boat visit.
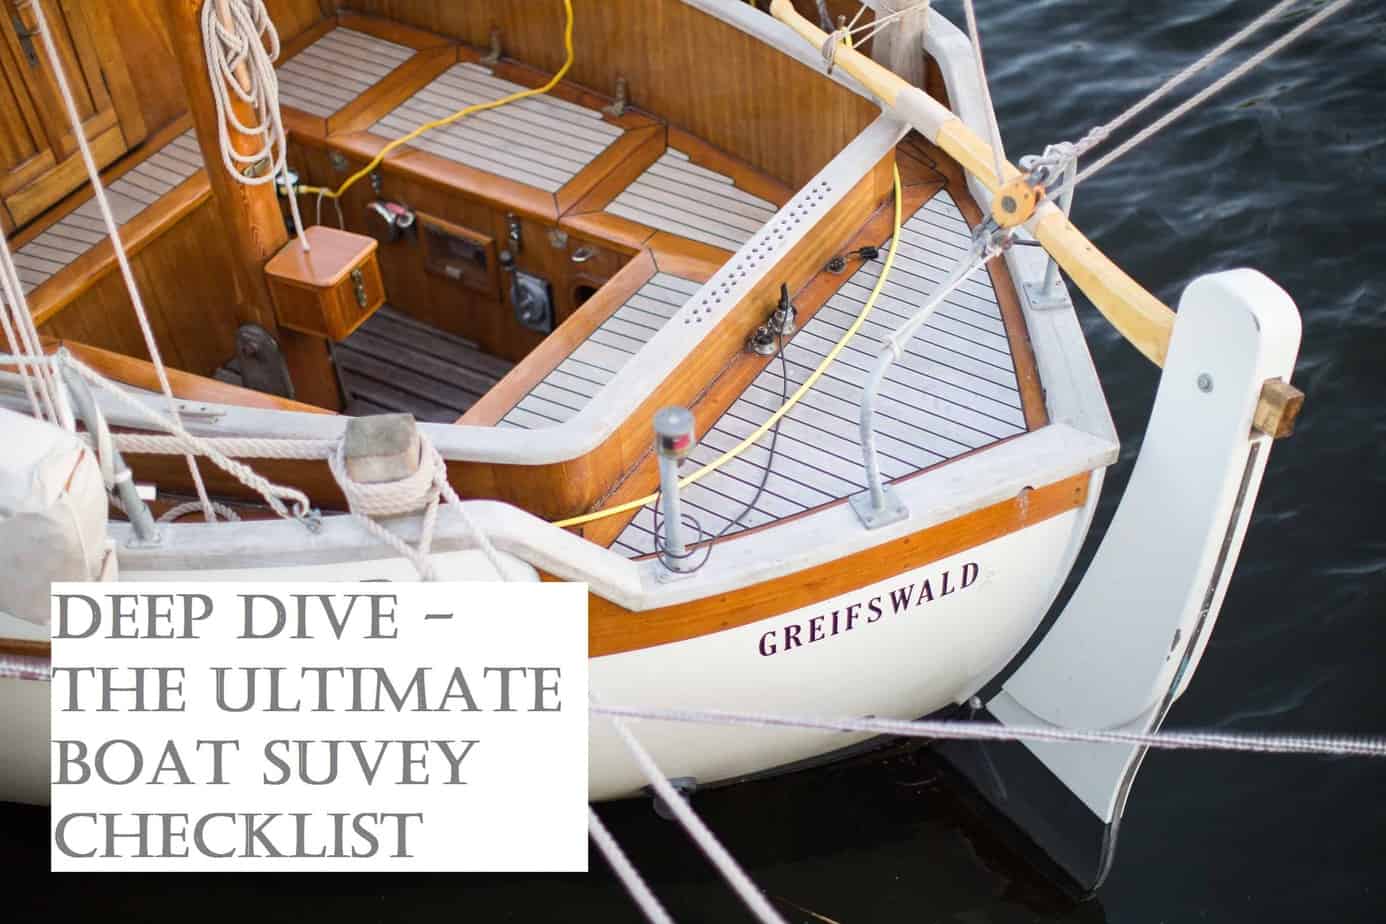
Boat Survey Checklist
Cracks (especially at keel hull joint) 4
Scratches or chips in the gelcoat, evidence of filler 5
Hull
Blisters
Check from multiple angles and in different conditions. The blisters are often only slight undulations and can be hard to see. Evening and early morning light where the sun’s rays are at an acute angle to the hull are especially good times to view. Blisters are often most visible after a couple of days of the boat being out of water and as the hull begins to dry out. They can appear as small wet spots (usually about the size of a dime or quarter) or areas where paint has chipped off. If the hull has been out of the water for a few weeks or months, the blisters may have dried out and will be more difficult to see. If the hull is not clean or has a buildup of many layers of bottom paint, blisters can be extremely difficult to detect.
Our experience
Our latest boat had a lot of blisters, which we didn’t notice until we began scraping paint off the hull. We scraped over 100 lbs of paint off the hull and it was worst build-up we have ever seen. Underneath were a lot of little blisters. Luckily they were all very small and mostly in the first layer of fibreglass. I drilled them out with a dremel and filled them with epoxy after letting them dry out for a week. It was not expensive, or dangerous, just time intensive. In the end we repaired about 150 blisters.
Cracks (especially at keel hull joint)
Check for a crack between the hull and keel. In some boats this may appear as a ‘smile.’ Check the bottom paint for cracking as it may not be obvious. If the boat has recently come out of the water, the crack may appear as a slightly wet area or discoloured. If the hull is not clean it can be difficult to detect cracks. Also check the bow area and front of the keel for any cracks or signs of stress.
Bottom paint condition
Scraping bottom paint is a time intensive job. If multiple layers of bottom paint have built up it is an indication that the owner has not been putting much time into maintaining the boat. A build-up of bottom paint will slow the boat down and make it difficult to see nascent issues such as osmosis blisters.
Our experience
OMFG what a terrible job. It took us and my parents two weeks of straight scraping and chemical treatment and sanding to get the hull down to gelcoat again. We would be very wary to do it again. Again it is sweat equity and we, at times, enjoyed the process, especially the finished product.
Soft spots/hollow spots
Tap on the hull with a 4oz. Hammer or some other light, metallic implement. Listen for the sound it makes. The sounds can be difficult to interpret as anything bonded to the hull, like bulkheads or water tanks, will make the tap sound sharper. Listen for especially dull taps in a cored-hull as they may indicate water intrusion into the coring. This is a big problem and should be reviewed by a professional surveyor if in doubt.
Our experience
We have never done this and we know very few people who do. A good surveyor will always do this, but it is difficult to interpret the sounds unless you have a lot of experience. Really dull thuds are obvious of course. In the future we would definitely do this.
Scratches or chips in the gelcoat, evidence of filler
Look around for signs of impact or stress on the hull. Often boats glance off docks or other obstructions and create scratches or chips in the gel-coat. Tap these small areas closely to ensure no structural damage has occurred. Most of time there is no problem.
Our experience
Our boat had filler in many places on the hull above the water line. Apparently the previous owner(s) were not adept at docking. The scratches didn’t look like they went beyond the gelcoat so we didn’t think much of it. In the end we added a bit of cosmetic filler and paint and it was never a problem. Looking back, we should have checked around these areas just to be sure. Lucky.
Thru-hulls
Check around thru-hulls for any indication of damage, failed sealant, corrosion or blockage. Below water thru-hulls cannot be made of plastic. This will appear as an insurance issue if it is not ameliorated.
Keel
If the boat is still in the travel lift slings, push on the keel from side to side. If it moves, there is an attachment issue. Check the joint between the keel and the hull for any cracking or signs of water intrusion. Look at the front and bottom of the keel for scrapes or damage which may indicate grounding. If the boat is already on stanchions, stand at the front of the bow and visually line up the keel with the centre line of the boat. If it is at a slight angle, there may be a problem.
Our experience
The previous owner lied about grounding our boat. The lie was only apparent after we checked the front bottom of the keel and found a whole bunch of painted sealant. I had to grind it all off, fill the area properly and fibreglass over it again. It wasn’t a big deal, but could have meant structural problems. The big lesson to us was that seller’s lie, even when they appear to be nice, honest people.
Rudder
Shake the rudder back and forth to check how much play is in the bearings. It should barely move. Have somebody on deck turn the wheel or tiller from side to side. Examine how the rudder moves. If there is a skeg, check the joint between the skeg and the hull. Shake the skeg. Tap the rudder with a small hammer and listen for dull thuds, which indicate water intrusion. It is quite common for rudders to be water-logged, which can deteriorate the bond between rudder core and support tangs. The movement of the tiller or wheel should be smooth and easy. Is the steering mechanism hydraulic or cable and gear? Check the condition of the hydraulic ram seals or the steel cable, gear and cable clamps.
Our experience
We took our rudder off just to be sure and found the rudder post tube was in good condition. So we put it all back on and replaced the stainless steel wire and wire clamps.
Deck
Winches
Winches should sound like Swiss watches ticking when you slowly turn them. When were the winches last serviced? Do they have winch covers (this will prevent salt and grime entering them when they are not being used). How warn is the drum? Check all winches.
Our experience
When we took apart our winches we found they were full of somebody’s long black hair. Ouch and yuck. After cleaning them thoroughly they ticked so much smoother. Winch maintenance should be done annually, but don’t be at all surprised if it is never done at all. It’s not a hard job and requires almost no materials. If they barely turn at all, then it is a much larger problem and winches are shockingly, like cosmic jokingly, expensive to replace.
Grab rails
Check cracking in the deck around the grab rails. Pull hard on the grab rails and note any deck deflection or movement of the rail itself. Check the fastener connection for indication of water intrusion through the fastener hole into the deck. Tap around the grab rails especially carefully for signs of water intrusion or damage.
Our experience
Our grab rails were leaking into the deck and we had to rebed them. We took the opportunity to sand them down and apply oil rather than varnish, which requires less maintenance.
Life lines
Check the life lines for signs of damage. Check carefully at the connection between the steel cable and the turnbuckle. If the lines are coated in plastic, check for cracking in the plastic and signs of rust. Stainless steel will rust under plastic sheathed life lines and you might want to consider replacing them if they are more than 10 years old.
Our experience
We had plastic sheathed life lines and the stainless wire was starting to rust . We replaced them with straight stainless wire. We reused the turnbuckles. Swaging is costly if you don’t do it yourself and the fix ended up costing around $800.
Windows
Check sealant around the windows or discoloration, discontinuity or cracking. Is there any water staining on the inside of the cabin around the windows and hatches?
Our experience
We replaced all the windows and hatches on our current boat. They were completely crazed and we could barely see through them. We went with plexiglass instead of Lexan because it was so much cheaper and doesn’t craze. But it is less strong, and we upped the thickness to make up the difference in some places. Bedding hatches and windows is messy and stressful. Check for sealant compatibility with different plastics. The best ones we know of are DOW 795 and GE Silicone II.
Thru-decks
Check all thru-decks (especially hatches) for signs of cracking or water intrusion. When were the thru-decks last replaced?
Our experience
Every thru-deck on our boat leaked. We didn’t really check them that closely when we surveyed the boat and it took two years to get all of the leaks sorted out. Many had been leaking for a decade or more and had caused significant rot. We had never tapped the deck with a hammer before we bought the boat and decided to do it before we outfitted it for a big trip. We used a pencil to mark areas that thudded. By the end, more than 30% of our deck was covered in pencil marks. I freaked out and immediately started looking on Yachtworld for another boat. A friend who owns a boatyard came by and took a look. He said, ‘no big deal’ this looks like the deck of lots of old boats.’ It took us a month of straight work to tear up the top layer of deck, replace the core and fibreglass over it again. It cost us about 1000 dollars in materials, but we did all the work ourselves. Thankfully Fiona is a wizard with bondo and you’d never know the deck had been refurbished. It’s better to find a deck without soft spots, but may not be possible. Note the extent and consider the time to fix it, or just live with it. At any rate, you’ll want to fix the leaks so they don’t get any worse.
Chainplates
Pull laterally on the stays and shrouds close to where they connect to the chainplates. Note any deflection. Check where the chainplate enters the deck or bolts onto the hull. Is there any cracking or discoloration? Is the metal in good condition?
Our experience
We saw a ramp bead of silicone around the perimeter of the chainplate above deck. It suggested the previous owner may have thought they were leaking. We have also heard that people do this as a preventative measure so it might also just be good boat maintenance.
Soft spots
Soft spots in the deck will appear as areas that deflect when you weight them or as dull thuds when you tap them with a small hammer. They indicate degradation of the core material and should be carefully investigated. Tap over the whole deck with a 4oz. hammer or similar and listen for the sound it makes. Dull thuds indicate water intrusion. Is the deck cored? What is the core material? Get somebody to lightly bounce in different areas of the deck and take note of any deflection.
Our experience
We had tonnes. See thru-decks.
Cracking
Walk the deck and check for signs of cracking. Especially check at the chainplates, mast and forestay. Large cracks can indicate stress and deformation of the deck. Small cracks, called spider cracks, are common in the gelcoat of older boats and do not necessarily represent a problem.
Our experience
Our boat looks like a spider web in some places. We’ve learned to live with it.
Mast electrical
Check where the wires exit the mast and enter the boat for signs of water leaks. If it is a deck stepped mast, there will be holes in the deck to allow for the electrical wires. Does all the mast electrical work? Try each light and make sure you can see it working. Rewiring a mast is a big pain.
Our experience
We rewired our mast when it was taken off for re-rigging. We replaced all the lights at the same time. It was relatively straight forward, but remember do not pull out all the wires without leaving in a messenger line or some way of pulling new wire through.
Shrouds and stays
It’s scary but it’s a good idea to go up the mast and check the shrouds and stays for any signs of damage. Most often the damage will be where the stainless steel wire connects to the turnbuckle. The turnbuckle might have a hairline crack in it, or you’ll see a broken strand or two of wire.
Our experience
I climbed the mast of our boat while it was swaying around on a mooring. It had mast steps, which made it easier, but I was still pretty nervous. I don’t even remember looking at the shroud or stays, as I moved through 12 feet of arc at the top of the mast. I just came back down and told Fiona they looked fine. Maybe they did.
Lines and sheets
Check the condition of the running gear. Is it worn or stiff? Stiff rope can often be soaked into suppleness, but chafed line needs to be replaced. Is there spare line onboard?
Our experience
We replaced all the running rigging slowly over time. It is a maintenance cost. Luckily there was a lot of spare line onboard and we saved a bundle as a result.
Compass
Check the binnacle compass. If there is an air bubble, the seal has failed moderately and may eventually need to be replaced. Is the compass adjustable for the magnetic elements on the boat?
Antennae
Check the age of the antennae and turn on the VHF to make sure they work.
Sails
It’s usually not practical unless you are sailing to haul up a sail, but get as a good look as you can at them. Chafe, holes, patches or other repairs usually indicate that the sail has been around a long time. Also, its stiffness is a good indicator of its age. A really supple sail is probably old and tired and will need replacing soon.
Our experience
We had super bagged out sails that we used for a couple of years of cruising. We weren’t the fastest boat, but we were fine. It’s amazing how long you can keep a sail going. We replaced the sails when we decided to cross an ocean. Having a sail tear out there was too scary a thought and we realized that performance over 10 000 miles actually matters.
Propeller
Check the size and pitch of the propeller. Is it appropriate for the boat? You can check online with a propeller calculator. It is shocking how many mis-sized props there are on boats. They are expensive and can be finicky to replace.
Our experience
Our prop was too big and overloaded the engine causing it to overheat. We had to replace the prop.
Propeller shaft and strut
Put the engine in neutral and spin the propeller. Check the trueness of the shaft. Shake the shaft back and forth, is there much play in the cutlass bearing? When was the bearing last replaced? Shake the strut back and forth, does it move?
Our experience
We replaced our cutlass bearing, which required have to be sawing it out of the tube. This actually is a normal way to do it. It was a little scary sawing away, but if you go slowly and carefully it isn’t hard.
Below deck
Bilge
Is there water in the bilge? Can you see the tops of the keel bolts? What do the bilge pump and hose look like? Is there any visible deformation or cracking
Our experience
The previous owner had changed the engine oil into the bilge a few times. There was a lot of water in the bilge and the bilge pump didn’t work. It took Fiona a whole day to clean it out properly. We bought a new bilge pump and replumbed it. It ended up costing around $300. The bilge pump needs to be secured as well, or it may be an insurance issue.
Keel bolts
Ask the owner when the keel bolts were last checked and research how the keel bolts are attached to the keel. Is it a lead keel, or iron. Are the bolts thru-bolted or are they cast in place. What type of metal is the keel bolt? Keel bolts are not often replaced, but it is a good idea to check them at least every ten years. Some recommend replacement as well. It is often a very difficult job to check/replace keel bolts, so approach this with a grain of salt. There may be nothing you can do in the survey, but it could become a bargaining point later.
Our experience
Our keel bolts were leaking and we kept getting water in the bilge and rust stains down the side of the keel where the bolts exited. We took our keel bolts out one by one and rebedded them. The whole job took three weeks. Not for the faint of heart.
Water staining
Check around the interior of the boat for water stains. Especially on the underside of chainplate connections, hatches and windows and any thru-deck location.
Our experience
We had a little water staining at first glance, but that was only because the owner had cleaned it up before we came to look at the boat. It took us a year to stop all the leaks. See thru-decks.
Rust and corrosion
Check metal fittings for signs of rust or corrosion.
Our experience
We had a lot of ferrous metal we had to remove. The wire clamps for the steering assembly were just little balls or rust and I had to cut them off with a zip cut. It was further proof to us that the previous owner was not maintaining the boat well.
Thru-hulls
Operate each thru-hull to make sure it works. Check for corrosion and hose connections. The thru-hull hose connection should have two gear clamps. If the thru-hull is stuck do not crank it very hard.
Our experience
Only one of our thru-hulls didn’t work and we had to replace it. The effluent thru-hull appeared not to work, but with the application of some cleaner and oil we got it moving again. We have heard of surveyors breaking thru-hulls and having to call the owner to let them know their boat is sinking.
Bulkheads
Where possible check the connection between bulk heads and the hull/deck. If the bulkhead is out of place, it suggests a major collision or other deformation of the hull/deck.
Chainplates
Check the underside of the chainplates for signs of water intrusion and corrosion. A chainplate issue can be a big deal, so if in doubt seek professional advice.
Our experience
One of our chainplates was leaking, which we noticed as a brownish stain on the inside of the cabin top. The bedding sealant had degraded over 35 years of life and needed to be replaced. We rebed all the chainplates when we took the mast off for re-rigging. It was one of the easiest jobs on the boat. It would have been a different story if we noted any corrosion in the chainplate. This is a big issue and may require the involvement of a professional.
Head
Does it work? Does it smell?
Mast step
Check the connection above and below deck of the mast. For a deck stepped mast, check the top and bottom of the compression post as well. Lift the sole panels and actually visually inspect where the compression post of the mast connects to the keel and to the deck. Feel around for rot or corrosion. The same goes for a keel stepped mast. Check where it connects to the keel and where it passes through the deck for signs of leaking or corrosion.
Our experience
We found one boat with bad corrosion of the keel stepped mast. The aluminum on the iron of the keel had begun to break down. It required having to pull the mast and make significant repair. That’s a big job and we walked away from the boat.
Locker doors
Do the locker doors all open and shut? If not, it could suggest a deformation of the hull or deck and should be investigated further.
Interior woodwork
Is the interior wood work in good condition.
Our experience
Sanding interior wood work is a pain. Floor boards are quite expensive. To replace the floor on our Dufour 35 would have cost 2k. We have lived with ugly, partly rotten floor boards as a result.
Upholstery and cushions
In what condition is the upholstery. Do you like the color? Is the cushion foam firm/comfortable?
Our experience
Replacing cushions is terribly expensive. We learned to live with a color we didn’t like and reused the cushions when we reupholstered. Budget anywhere from $1000-$4000 for new cushions.
Comforts
Does it have a shower or hot water? Do they work? How old is the hot water heater? Where does the shower drain?
Heater
Depending on your location you may very well want a heater to keep the boat warm at times. They can be very expensive and require additional fuel lines, not to mention an exhaust port or chimney. They can run up to $1000 pretty quickly.
Engine
Hoses
Check the suppleness of the hoses. Check the connections for signs of leaks and deterioration. Older hoses should be replaced.
Hours
How many hours does the engine have? Was it rebuilt?
Cleanliness
How clean is the engine? A clean engine means the owner appears to be maintaining it well. It is also easier to spot any leaks or other issues. Can you smell oil or diesel?
Spare parts
What kind of spares come with the engine? Spares can be pretty expensive so a list of spares is a boon, it also shows the owner is maintaining the boat well.
Zincs
If the engine is freshwater cooled, check the heat exchanger zincs.
Our experience
We have met a few boat owners who are not changing their heat exchanger zincs, which can lead to a breakdown of the exchanger rods. If the rods start leaking the heat exchanger will need to be replaced. There is also a risk of getting saltwater mixed in with the coolant and causing damage to the engine.
Electrical
Batteries
Check the batteries. Are their signs of terminal corrosion or dried powder on the tops of the batteries? How old are the batteries? How many amp hours is the battery bank? Is there room for additional batteries?
Wiring
Check the wiring behind the AC and DC panels. Does it look neat and tidy? Are the connections done properly? How old are the panels? Do individual breakers have multiple connections to them?
Our experience
We had to replace our DC electrical panel to make room for additional electrical systems. At the time we found the previous owner had not done any connections properly so we redid them all. It is relatively easy to do and doesn’t take long. We were really intimidated by redoing the electrical but it turned into our favorite job on the boat. Fiona is an electrical wizard now.
Lighting
Check the type of lights. Are they LED or fluorescent or incandescent? LED lights can be pricey, figure $10 per bulb. Make sure all the lights work. If some don’t it could indicate a larger electrical problem.
Electronics
What electronics are on board? Do they all work? How old are they? Do they network with each other, ie. radar and gps, depth sounder and gps? Is there a functioning wind speed indicator?
Additional items
Ask about some important additional items, namely; dinghy, barbecue, anchors, fenders, dodger/bimini, winch covers, additional sails, solar panels, radar arch, wind generator, life vests, engine spares.
Here’s a quick boat survey checklist worksheet to take with you on your next boat inspection: Boat survey worksheet


Robin was born and raised in the Canadian North. His first memory of travel on water was by dogsled across a frozen lake. After studying environmental science and engineering he moved to Vancouver aboard a 35’ sailboat with his partner, Fiona, with the idea to fix up the boat and sail around the world. He has written for several sailing publications including SAIL, Cruising World, and was previously a contributing editor at Good Old Boat.